Showing posts with label x-stitch. Show all posts

Sunday, February 9, 2014

Not Even Halfway Finished

I don't think I realized how big this tree skirt actually will be until I unrolled it last night to check on my current progress. Wow! It is much bigger than I thought and I am not even halfway finished. I do love the way it looks thought and that's even without all the silver braid for the ornaments and ribbon and blending filament for the snowflakes that goes with it.

A friend of mine said the tree skirt is  ambitious. She may be right. As I told her, I hope, as Gram always said, my eyes aren't too big for my stomach.


It is pretty though and I'm determined to get it done this year. Now I wonder if I'll get anything else done since I'm stitching this. Time will tell.

It's good to stretch a bit outside your comfort zone to reach a little bit more skill, experience, and ambition. Other large tasks will be less daunting.

Happy stitching.

Friday, February 7, 2014

Celebrations

Since I am sending a picture of my brand new composite birthday card to a friend for advice, I thought I'd share it here.

I made one cross stitch card for my closest friend for her birthday, but I decided the card I made for my sister needed something more. That's when I stumbled into scrapbooking and card making and all the embellishments and doodads available. Not wanting to take too deep a plunge, I chose three simple elements and just finished adding them. What do you think?

My sister hates pink, but it goes with the roses. Maybe the banner at the top is too much -- or at least too many. I'll do better next time.

As for the other element of celebration, what would Xmas be without a tree -- or a tree skirt. I've put in some more time stitching and have made some progress.

Not too shabby, especially since I've added more since this picture was taken a couple of days ago. The stitching moves forward. It's a beginning.

What projects are keeping you busy these days? Share them.

And Happy Stitching.


Monday, November 18, 2013

Remembering Santa

This morning, my aunt sent me a photo of the Santa Claus they have hung on the wall for over 40 years as part of their annual decorations. The Santa was rescued from the trash bin at my mothers, to whom I had originally given it. My aunt and uncle rescued it and my aunt had it cleaned, framed and matted, and has hung it proudly every year since then. I did a lot of Santas over 20 years ago when I began cross stitching and I wasn't sure which one it was. I still can't believe it was in the trash, but I'm sure a lot of things went into the trash that were gifts from me. I'm not upset at all; my mother also gave away a Gutenberg Bible, and original Gutenberg Bible worth millions of dollars, but then she wasn't knowledgeable about such things.

So, here we are this morning and I look for the first time on the piece I stitched more than 2 decades ago and I begin to remember. I remember it was in a magazine and said everything I wanted to say about Xmas and Santa Claus -- and it is beautiful (even if I did stitch it).

 I think he's beautiful and I'm glad he has a home where he is loved and appreciated. 

My aunt also sent me a photo of the anniversary sampler's new home among a photo of their extensive family and their 3 youngest grandchildren. She said it was the sampler's permanent home and I'm pleased it has what my uncle told me is a place of honor.

Not a bad beginning to the morning or the first working day of the week. When it all comes down to it, where a gift ends up, preferably where someone loves and appreciates the gift, is where it belongs. I'm thankful for my aunt and uncle rescuing Santa and sharing him with me and everyone who visits their home during the holidays.

Happy stitching.


Friday, November 15, 2013

Almost There - Britty Kitty

I had some time last night so I worked a little on my granddaughter's Xmas stocking and actually made some progress. I will finish it this weekend. All that will be left is to cut out the fabric and sew it all together with an appropriate hanger. After last year's stockings, I know I can stitch all the stockings together in no time at all and the hand stitching for the lining is nothing. I enjoy hand stitching. I used to make stuff teddy bears with faux fur and sewed them all by hand.

Now to the reveal.

This is last weekend's work.

Last night's contribution. Almost there. I think the Rainbow Gallery white Wisper thread and Kreinik blending filament and #4 braid give it an added dimension that is very nice. I can't wait to see where spontaneity takes me next.

Happy stitching.


Tuesday, October 22, 2013

On an Asian Roll

Since I was already here and couldn't get the previous post to give me any more space, I'm putting the update for the Japanese Maiden here.

This is where I stopped to work on Xmas stockings. I love this design and I can't wait until it's finished, framed, and ready to hang. I'm keeping this one for myself.


Here's a closeup of the new details. Still have the outside to work on, but it's getting there and I'm really happy with what is coming from the threads. I'm so glad I decided to do this one. It's beautiful.


Happy stitching.

Wednesday, October 16, 2013

HalloXmas Stocking

I pondered this idea for a while before I finally came up with a way to make it work. That is making a Xmas stocking with a zombie theme. I wanted something that was still Christmasy and adding zombie elements.

This is the first stocking and the way I worked around the problem. Xmas tree with large ornaments depicting acts of zombie horror. What could be better? I hope.

 I've begun the outside elements. More branches and ornament hangers will be added. Snowflakes will be stitched on and inside each lovely looking ornament will be some sort of zombie horror. The perfect marriage of horror and sweet. Don't you think?


I used one of Dimension Gold's stocking patterns for the basis of my Xmas theme. It's coming along nicely. I have deleted some of the elements obviously, like the inside of the ornaments, which were holiday scenes, and will add the scenes -- or decomposing body parts -- of my design. This was actually fun.

Still haven't decided which one of my evil ideas I'll use for the other HalloXmas stocking, but I'm getting there. I haven't drawn anything in years and I've never designed a cross stitch pattern from scratch. I'm doing it in stages so I don't get design lash. Like whiplash only messier.

Happy stitching.

Sunday, September 1, 2013

All In A Day's Work

I did more work on the Illuminated manuscript and decided to post some of the details. Feel free to give it a miss. 


This squirrel is one of the two on the bottom half of the piece. He still need an eye.


Also on the bottom on the left hand side is this little dragonfly. I finished him this evening.


A hawk, but not yet back stitched and he goes on the right hand side of the upper portion.


This moth/butterfly is also on the right hand side at the top. He still needs a couple of stitches and back stitching.


A finished butterfly from the left hand side. I am always amazed how the jumble of stitches comes clearer when the back stitching is added. The blobs are flowers/leaves and still need their vines to attach them to the border.


The snake is one of my favorite and a bird begins to emerge on the left while the snake goes after two birds, probably gulls, taking flight from his venomous bite.


I've added some of the back stitching in the main picture at the top of the piece. She is surrounded by birds and flowers and many little bits of life in the grass and trees.


As you can see, there are still more animals and flowers and leaves to go, but the illuminations are coming along after a couple hours of stitching.

Life -- and art -- are in the details. Nothing is insignificant. A single stitch becomes a note of music or the eye of an animal. A line becomes antenna or a leg or the flickering tongue of a serpent. Everything is important.

Happy stitching 


Saturday, August 31, 2013

A Little Progress

I have made some progress on the Illuminated Manuscript. I found that by doing some of the back stitching and putting in the Latin words it helped me to figure out where to the put the notes and some of the flowers.

I know the old stitch, back stitch, add embellishments formula and have followed it forever, at least until I did some Sweetheart Tree teenies. Embellishments, like beads, treasures, etc., were put in while stitching and back stitching was also done during the process. I decided to do that here with some pretty good results and a few changes. So here we go.


I've concentrated on doing the bottom half. Lots of gold and all those bits of color here and there are flowers with a few animals thrown in. 

 
I love the little dragonfly on the left hand side, but the bird and squirrel are also adorable.

Don't be afraid to change the routine you use. Shake things up a bit and try new things. It's worth the effort.

Happy stitching.

Monday, August 19, 2013

Nonny's box

The Grape Ice from Weeks Dye Works arrived this morning and I quickly finished the insert for the Sudberry box and added the date (birthday and 2013). The finished piece is lovely.


As I said, quite lovely. Unfortunately, I think it needs something more when put into the frame on the box. Happy birthday, although the date already makes that plain. The name? Happy birthday in several different languages? Or is it fine just the way it is?

The finished piece is temporarily installed in the top of the box. I still need to wash and iron it before the final framing, and there's one small flaw I have to fix. I have 2 months, so I'm not worried, just puzzled if it's too little or just enough. 

If you have any suggestions, let me know.


Happy stitching.

Friday, August 16, 2013

Birthday box


I bought this Sudberry box for a different project. When it arrived, I found that the display area was too small, so I bought another box and used this box as the basis of another gift, a birthday gift. I think the seascape I did for the other box works better with that one and would have overwhelmed this box. Not so the piece I chose to stitch for the insert here.

I think this will be a better fit -- with some adjustments of course. The fabric I got was twice the size of the fabric shown and this is with 3 inch borders on all sides (obviously more than 3 inches on the bottom and right, but that will be shortened when I'm done).

This is the close up of the design. No, the middle candle is not finished. I made a mistake when ordering and deleted one of the colors I didn't have. That will arrive on Monday with the fabric for my Celtic Seasons. There is a small heart button that goes on the center candle. I did discover something while stitching. I think it's a lovely design by Samsarah Design Studio, although I would have preferred an alphabet to go with it for personalizing. I'll make do with the alphabets I've already collected.

Since this is hand dyed floss and has several shades, stitching across gives the candles a banded appearance. Stitching up and down gives the candle a vertical striped look. I'm not sure which one I like better. The up and down is subtler. I'll decide when I finish this one. I will add the birth date with this year's date (in keeping with the year I sign all my projects with) and will line the inside with some velvet. I think dark blue or perhaps green would give a nice rich appearance, although the recipient would likely prefer pink. I'll have to see what I can find before I decide. I'm not sure whether or not to add the name, but I'm sure the gift card will let them know who it is for, not to mention being addressed to her.

I thought I'd also give an update on the Japanese Maiden since she has been languishing while I finished the stocking. I have made some progress, but I tend to lose my place in the chart. That's why I use Frixion erasable highlighters to mark the chart. Saves me from losing my place and having to rip out large sections.

This is the part I love the most when the picture emerges from the stitches I don't even want to think about the back stitching ahead of me, but there will be lots. Probably take me as long as the stitching.

Close up, it doesn't look all that impressive, but there is a lot of work in there and a lot of headway. Flowers, background, and the other half of the kimono yet to go. Work proceeds apace.

It is often difficult to see more than a suggestion of the finished design until the back stitching goes in, which is why I put up with it. That is when everything comes into focus, not that I don't enjoy (and often prefer) the impressionistic look. I do. But not everything is all water lilies and light. Definition has its place. Especially here.

Happy stitching.


Saturday, July 27, 2013

The story behind the background


I don't think I mentioned before that the background for this blog contains two cross stitch patterns I bought about 20 years ago and stitched. King Tut's death mask was done first and was my first major project. I bought the pattern and the materials and worked with metallic blending floss for the first time. The whole thing from start to back stitching took me 2 weeks and some people consider that astonishing. I wasn't working full time then and put all my attention on cross stitching.

Nefertiti's bust (that's statue of head and shoulders for the guys whose minds went directly THERE) took me a little more time to find. The company that made the pattern was bought out by another company and the pattern redone with different colors. I wanted Nefertiti to match King Tut, so I did my own revision of the colors so it did match. I think Nefertiti was done about 2 years later, but it could be more like 5 years.

My mother instantly fell in love with King Tut and, when I refused to let her have it after it was framed, she threw a fit and threatened to break into my apartment and steal it. Like I wouldn't notice. She also didn't know I had planned to give it to her for Xmas. Everyone was in on that secret and helped me to get it out of the trunk of my car and hang it in the front hallway. Mom must have passed it a dozen times going up and down the stairs past where it hung without seeing it.

My siblings were anxious to go home and stood next to King Tut talking. Twice more Mom passed and didn't see it until Jimmy, my younger brother, asked Mom to settle a mock dispute between he and my sisters as she was going up the stairs yet again. She turned to answer, caught sight of Tut, and nearly fell over the banister trying to get back down the stairs to snatch it off the wall, hold it to her chest, and run through the house screaming, "I got it. I got it. I got it," in her most unholy gleeful voice.

I gave her Nefertiti a few years later, appropriately framed, and she was as tickled with that as she was with Tut, although there was a lot less furor.

Mom didn't like that I had both famed and matted without glass, so she had them framed and matted a second time by the daughter of a friend of hers who offered to do the work for free. I think the daughter wanted to get her hands on Tut and Nefertiti and see what the back was like. I never did mention how much it cost to have both framed and matted or how long I took choosing just the right combination. It wouldn't have mattered to Mom anyway.

When I was home 6 years ago, Mom decided I should take both of the framed pieces home with me. My father was dying of bone cancer metastasized from prostate cancer he thought he had beat 10 years before, and Mom was certain she'd follow Dad soon. Mom lasted until last year, January 13, 2012, Friday the 13th appropriately, and she often told me she wished she had held onto Tut and Nefertiti longer. It was the first place guests to the house were taken once entering the house. They hang on my living room wall now and are about 24 x 36, done on Navy blue 28-ct Lugana with Kreinik metallic blending filaments and DMC floss. I still think they make an appropriate background for this blog as they were my first foray into the world of challenging cross stitch and the beginning of a love of thread art.


King Tut's Death Mask


 Nefertiti

Nefertiti reminds me of Mom: fine small features dressed in jewels and covered in gold. Mom would've liked that -- being covered in gold and studded with jewels. They were her favorite things. 

Happy stitching.


Monday, July 22, 2013

Bringing Evertyhing Up to Date

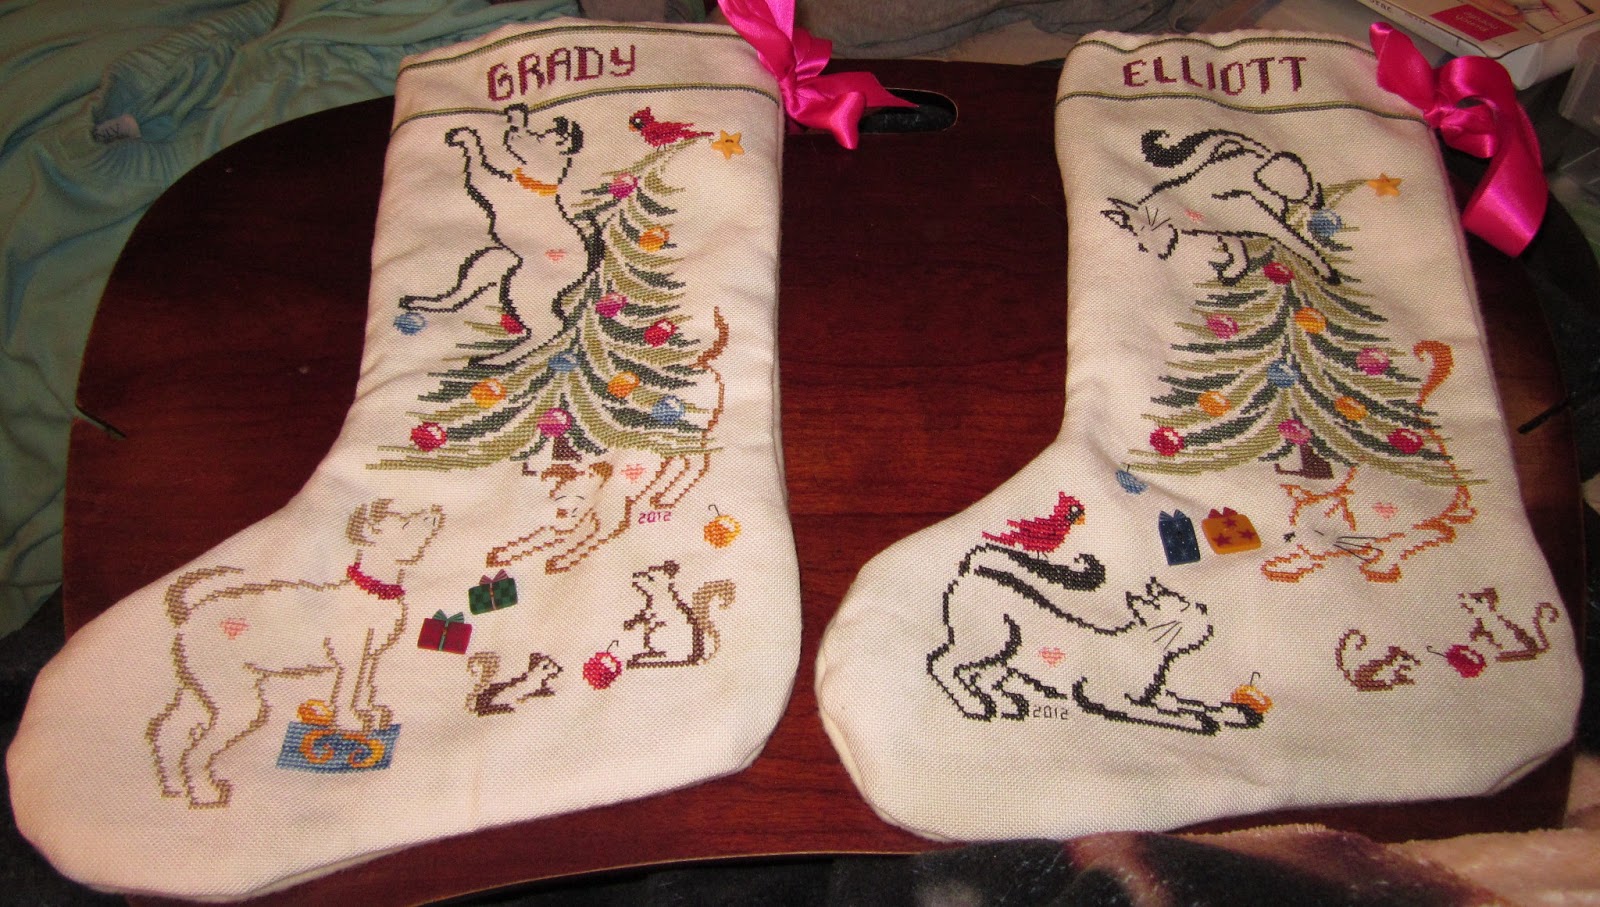
As I was searching for proof of last year's Xmas stockings for the grandkids, I could not find the photos I took of Elliott and Grady's stocking. Elliott and Grady are Nikki's children and Nikki is Ellen's child. Ellen is my 1st cousin, 1 of 5, and daughter of my mother's brother, Uncle Bob. Suffice it to say, I used Grady and Elliott as an excuse to make the Brittercup Xmas stockings. Well, that and I wanted them to have Xmas stockings too since I was on a roll. I just found the photos.


I do love the simplicity and color of Brittercup's designs and I wish they would make more and different patterns. I have been stitching, but not posting. I know. Bad Jackie. I did post the photos of finished work elsewhere, just not here. It seemed a bit too much fuss for the results, which is posting in yet another blog. I won't tell you how many of those I have. I also link to a bunch of different search engines and websites so I get the news out (in case anyone care or is paying attention) to as many of the sites where people might actually visit. At least there is an app for that and I use it all the time. Saves me having to juggle HTML and all the other blog features to get it right. I will show a few of the latest projects in the current state. Celtic Summer by Lavender & Lace took me the most time because of the hundreds of beads that had to be applied. Still, it did turn out to be lovely.


I am quite naturally proud of the work - and that I finished the whole thing. A close up is in order.


And now for a closeup of the bottom. I don't know which part (top or bottom) has the most beads. They are everywhere.

Of course, now I will have to do the other four pieces in the set: Autumn, Spring, Winter, and Christmas. I have all the patterns now and most of the beads and fabric, but I still need to get some thread to go with the Rainbow petite braid I bought a few months ago. This one is my favorite current projects, The Japanese Maiden. It is proving to be much bigger than I first thought when I saw it online and in the picture on the package, but still lovely.


I need to get out the camera and show how much more I've finished. I have the bottom quarter done and am working on the top left quarter as of yesterday. I took some time off from Celtic Summer to work on a quick project for a very good friend, a birthday present. Getting the stitching done was a breeze, although I need to work on the heart. It's a new technique for me and I think the right side is a little off. What made the gift late for her birthday was getting the frame; that took much longer. It did turn out lovely, but I didn't get a picture. I have to do better with that in the future -- taking pictures, I mean.

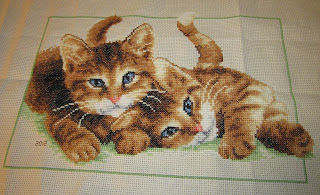
I did a couple more projects from the Adventure Box I bought from The Stitchery. You don't get a choice of what goes into the package and the theme is strictly up to the company. I got a lot of cats. These kittens were just adorable and not too difficult to get right -- once I bought some erasable highlighters and used them on the chart. The highlighter made everything so much easier.

In keeping with the cat theme, the cougar was a bit more challenging. I got off (before I bought the highlighter) and was afraid I'd have to rip out a huge section, so I moved on to another part of the pattern and worked from there. I found out I wasn't so far off and only had to remove and redo a few stitches. I think it turned out quite lovely, although I didn't take a picture of the completed project. This photo is when it was nearly done. Since I still have it, I'll photograph it and add it later, maybe even after I have it framed and ready to send to its new owner. I do think cross stitch makes lovely gifts and you couldn't buy them already made because of the hours of time that go into a good sized project. The cost would be prohibitive. No matter how beautiful the stocking, I doubt many people could afford - or would - pay $250 per stocking, and that is still getting off on the cheap side.


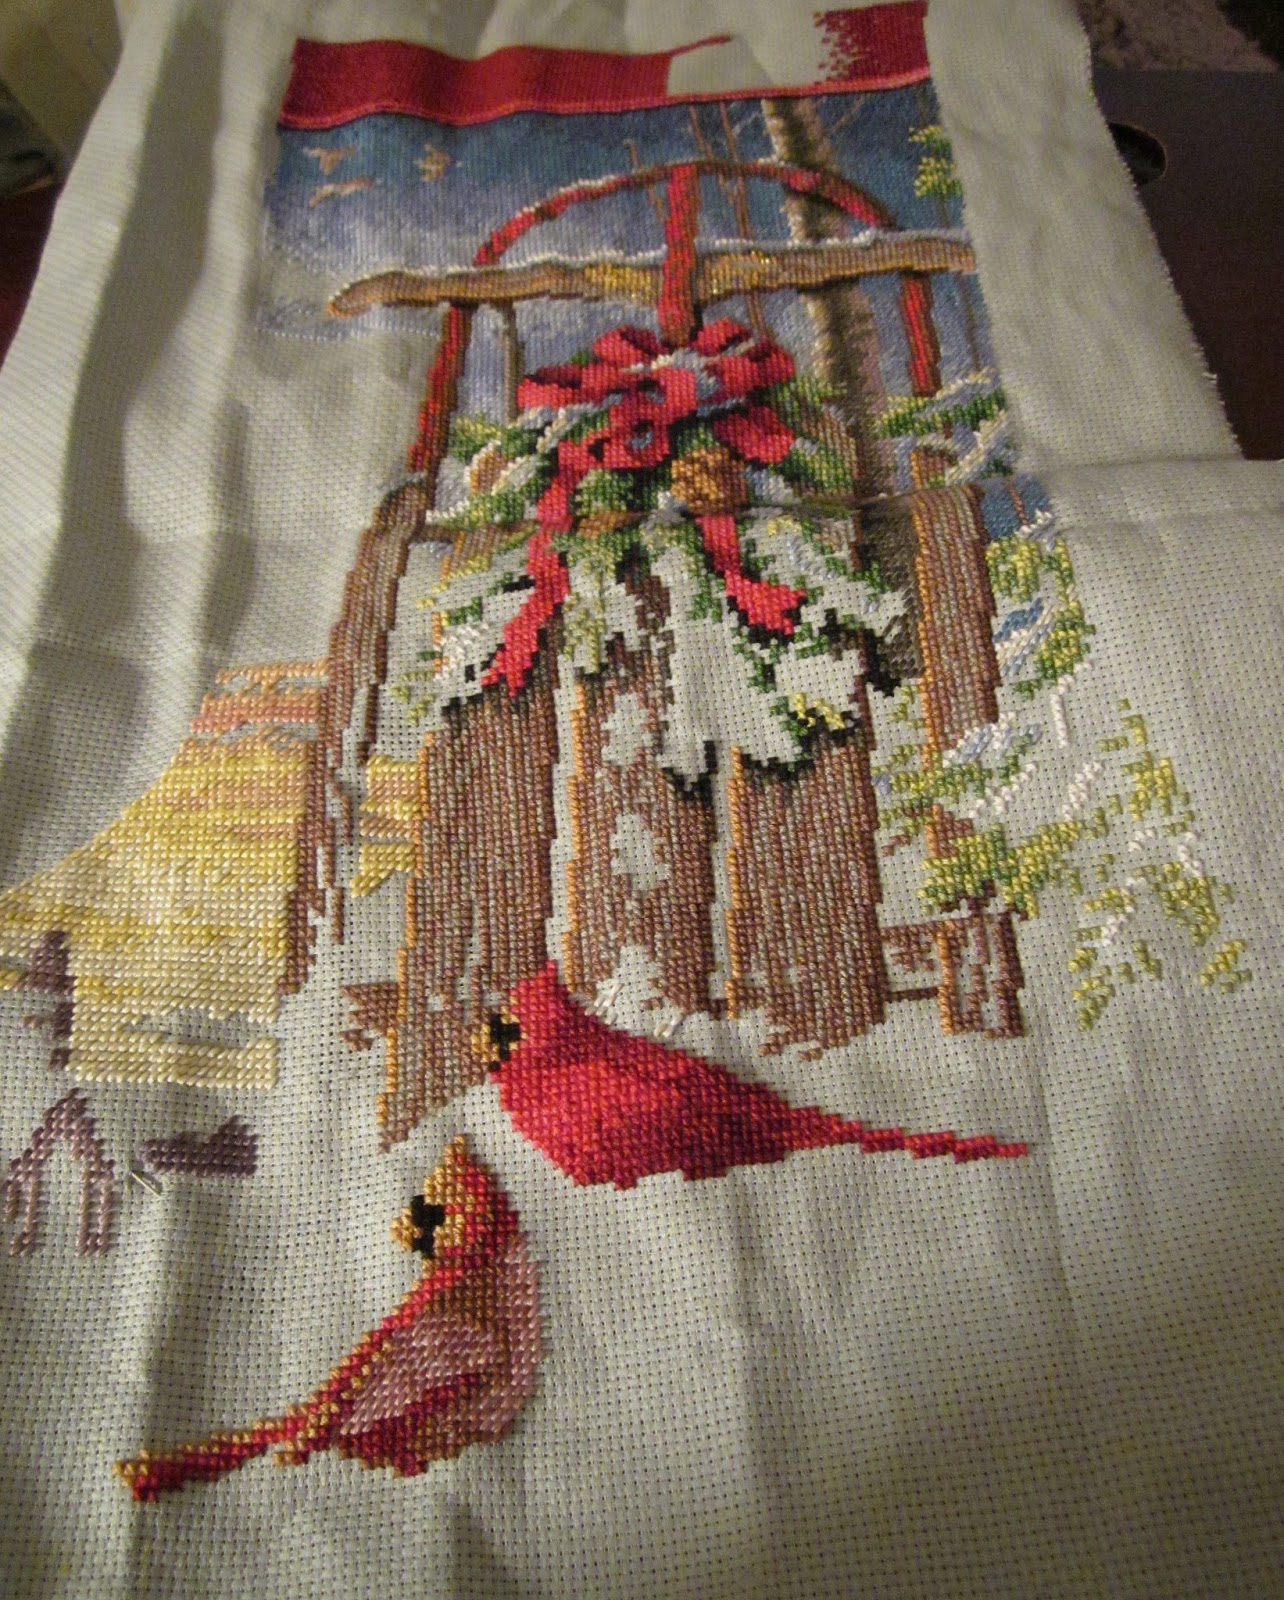
I decided last year that my now 14-year-old grandson Jordan was too mature for a stocking. I was wrong. He wants a Xmas stocking too, and so I am finishing his stocking. I'm much farther along (again, no photos yet) than this picture shows. It's a beautiful piece, but there is a lot of work involved and it is much more complex than the average once a month stitcher -- or even an every day or week stitcher -- usually works on. The highlighters came in handy on this one as well. There are half stitches, blended stitches, fold filament that is pretty stiff, and beads to attach when all the stitching is done. It will be beautiful but it did give me some difficult moments, which is why I've worked on other projects in between. I've found that is the best way to keep from throwing everything in the bin and turning the air blue with cursing.


Here is a picture of the whole stocking. No, I do not use stretcher bars or embroidery hoops. I've found I can keep things in shape by simply rolling the fabric up -- or with Aida, folding the fabric -- from the side and getting my hands in there. No, that has nothing to do with the complexity of the pattern. My finished pieces aren't stretched out or misshapen, but I doubt it's something that every stitcher should consider. It works for me.


Well, that brings almost everything up to date, except for one last little piece, another quickie, that I still need to outline. I think I'll put this one in the lid of a Sudberry House keepsake box. It would look lovely that way. I only wish there was one with shells around the box to go with the sea theme.


Well, that brings me up to date -- mostly. I hope you have enjoyed the show. That is all. Disperse.

And happy stitching.

Tuesday, September 25, 2012

Stitching with Lizzie Kate

I do not normally stitch samplers, but I changed my mind when I saw the Lizzie Kate 3-part mystery sampler this year. By the time I saw the offer, a 3-part sampler, the Halloween sampler was already 2 months in. I bought the first 2 months and then added the third and began to stitch. I wasn't quite ready for what happened.

I didn't know the 30-ct tin roof linen was cut with 4 inch borders all around. The pattern listed the start at the upper left hand corner. I was off by about 2 inches, but everything fit anyway.

Charms and/or beads were provided with each package and were intriguing. I have worked with beading before, but not with charms and was delighted when I figured out where they fit.

 The first charm, a star-shaped button, was added to the cross-stitched stars on the left. It's that shiny thing beside the owl. Beads were added to the owl's eyes and three more on the tree with the autumn leaves. I was quite charmed by the primitive, almost childlike design. It was sufficiently challenging when I got to the acorn border with the acorn leaves. I hadn't tried that design before.


 The key and star charms were part of the 2nd part of the design and I could hardly wait to get the section stitched so I could add them. No beads in this part.


This is a better shot of the whole panel with 3 different border stitches: the locked square, the leaf and stem border, and the lovely triangular border that repeats at the top and along both sides in each panel. That was a new stitch for me as well. 
 
The third and final pattern had more surprises. The grass, blue and green (cadet and bullfrog -- don't you just love the names they chose for the colors? -- from Weeks Dye Works) are vertical satin stitches, along with the repeated triangular and locked square borders. A star button is added between the bat and the sunflowers and the sunflower centers are beads. I like the candy corn border at the base and the whimsical black cat with carved pumpkin head. 


A closeup of the key and star charms in their rightful places. Working with hand over dyed floss was an experience, especially when I found out each cross must be individually stitched to show the gradations in color to best effect. Live and learn. 
The finished piece, complete with far too much fabric at the right side and bottom. I had to crop the photo somewhere. 

All I need to do now is find a frame that compliments the stitchery and colors. Now I understand why the photo in the final piece of this mystery sampler showed the fabric as blue. It's not. Tin roof looks more like an old tin roof and not a bit blue. Flashes do strange things to the colors of linen. Take my word for it, there's more verdigris than blue in this tin roof.

I may try another sampler, but it will have to be as special as this one I purchased from 1-2-3 Stitch. I like the colors and the whimsy that make this Lizzie Kate design so much fun.

Did I mention that there are still 3 bonus mini samplers waiting for me? They'll have to wait since I need to get back to my grandson's Xmas stocking and finish it before Xmas. It's the last one. I'm adding Mill Hill beaded ornaments to go with each stocking. More new experiences.

Here's hoping you find new ways to keep yourself in stitches.

Sunday, September 16, 2012

Marking

Since I have an e-reader, a Kindle specifically, I don't need to mark my books. Kindle saves my place automatically.

I usually use the book flap or whatever PR material the agent or publisher send with review books. Then I bought one of the fun adventure boxes from The Stitchery and it contained a kit for bookmarks. I had to make them if only to bone up my rusty stitching skills.

The first bookmark took a bit of time -- and a bit of ripping out and redoing -- but I got the hang of things and the second one went very quickly, which was what I wanted -- fast and easy. Cats and books. It turned out pretty good.

Cats and books


I made a couple of changes because I do that with whatever project I'm working on to make it mine, and it has my signature year so I know when it was made. Not too bad for a fun adventure box piece.

I've also found that marking the pattern helps to keep my place, especially on B&W patterns, something I didn't have to do 20 years ago. I find it necessary these days with older eyes and bent synapses in the brain -- or whatever it is that causes me to lose my place.

I bought an erasable highlighting pen from 1-2-3 Stitch and that makes all the difference. It also makes the chart pretty with all the colors (yellow, green, pink, neon orange, and blue). I tried it out with the current project and erased some of what I had marked (hadn't done that part yet and got a bit ahead of myself) and it works. The color erases nearly completely so I can use the pattern again if I decide to do the project with my own floss. Talk about a handy tool. The Frixion pens from Pilot (always a solid name in the business, and pens I use all the time) are exactly what they are advertised to be -- highlighters that do erase.

 Buy one in each color and keep them on hand for projects. They are worth the price, $1.49 at 1-2-3 Stitch, and will come in handy as you get older or just want to make sure you're in the right place.

I seem to remember being much more competent and accurate 20 years ago. Who doesn't? It helps to know there are tools and products to help the slow decline of more than half a century of life -- and stitching -- to help old stitchers like me keep up with the times and keep our blood pressure and frustration levels down.

Keep stitching.

Wednesday, September 12, 2012

Equipment Talk: Twist-a-Light

Well, no progress to report on any new projects, although there are some. I'm just not unveiling them now. Today, I want to talk equipment, specifically task lighting.

I bought the Twist-a-Light from The Stitchery looking for something to add a dedicated light so I could stitch easier. I'm getting older and my eyes aren't as good as they were 20 years ago (whose are?) and thought the Twist-a-Light would be the perfect option. It wasn't.

The Twist-a-Light worked all right but went through a battery in about 36 hours, and that was only using it for about 3-4 hours of the 36. I thought there was something wrong -- more wrong than being an energy hog -- and I was right. I had put the light in the bag where I keep current projects and happened to look up one evening and there was a blue light shining in the bag. It was the Twist-a-Light. Not good. I thought I'd left the light on and that's why it was running through batteries so quickly -- even the Coppertop batteries I always buy. Not so. The light had a short in it.

I contacted The Stitchery and they sent me a free replacement; it took more than a week, but I did get it and tried it out. The light was great. Using both lights put a beacon right where I needed it, with a bit of adjusting, and the seeming short in one of the flexible arms turned out to be an anomaly, I hoped. It doesn't stay on when I turn the light off, but it still goes through batteries about one every 2-3 days. Not good.

The light is powerful, as long as the battery lasts, which isn't very long. It is a power hog even without the short. My suggestion is having a lot of rechargeable batteries available for this one. Regular batteries won't do.

The rubber tubing of the arms gets warm, as does the plastic battery cache, and can become a little uncomfortable, but not to the point of burning you if it rests on the skin.

My grade: C- 

The Twist-a-Light is a great idea but needs more work, especially with power and insulation. I'd suggest getting a dedicated light, possibly with a magnifying glass to shine on small weave fabrics, and plug it into an outlet. It's the safest and best way. Mobility is limited, but you won't spend a fortune going through Coppertops or Evereadys and won't have to invest in rechargeable batteries and charging stations.

The Twist-a-Light